
My loft is starting to feel more and more like a factory when I have all the machines going at once. I've yet to let the baby bug go while the E2 is going though.
But this post is not about the cricut stuff. It's about the sewing stuff. We'll start with Ilythia (pink toga). I had that mostly completed (so I thought). I had gotten the underskirt done last week. And the top and skirt portions were done last week. So here I was thinking that I only needed to attach the two. Yeah, no.
 |
| Here's where I started. I couldn't get the skirt on the dress form, which should have been telling. |
So, as I mentioned above, I couldn't get the skirt over the dress form. I frequently have a problem with dress forms and shoulders. Theirs do not move, mine do. So the process of putting on an item of clothing isn't quite the same. But I've got this nice new system meant to be just like me. I should have taken this as a sign.
 |
| I thought the underskirt looked pretty on the dress form. |
 |
| Pre-chiffon, test for fit |
So I took out the back seam of the skirt and the back seam of the top. The top will be hooked with a hook and eye. It's now much easier to get into and it fits on the dress form.
 |
| All sewn |
Also,. if you've seen me rant lately about evil pink fabric: this would be it. I'm not showing you the insides on purpose. It's a hot mess. I had to use fray check to get it to stop fraying (no serger and pinking didn't help).
 |
| What will this be? |
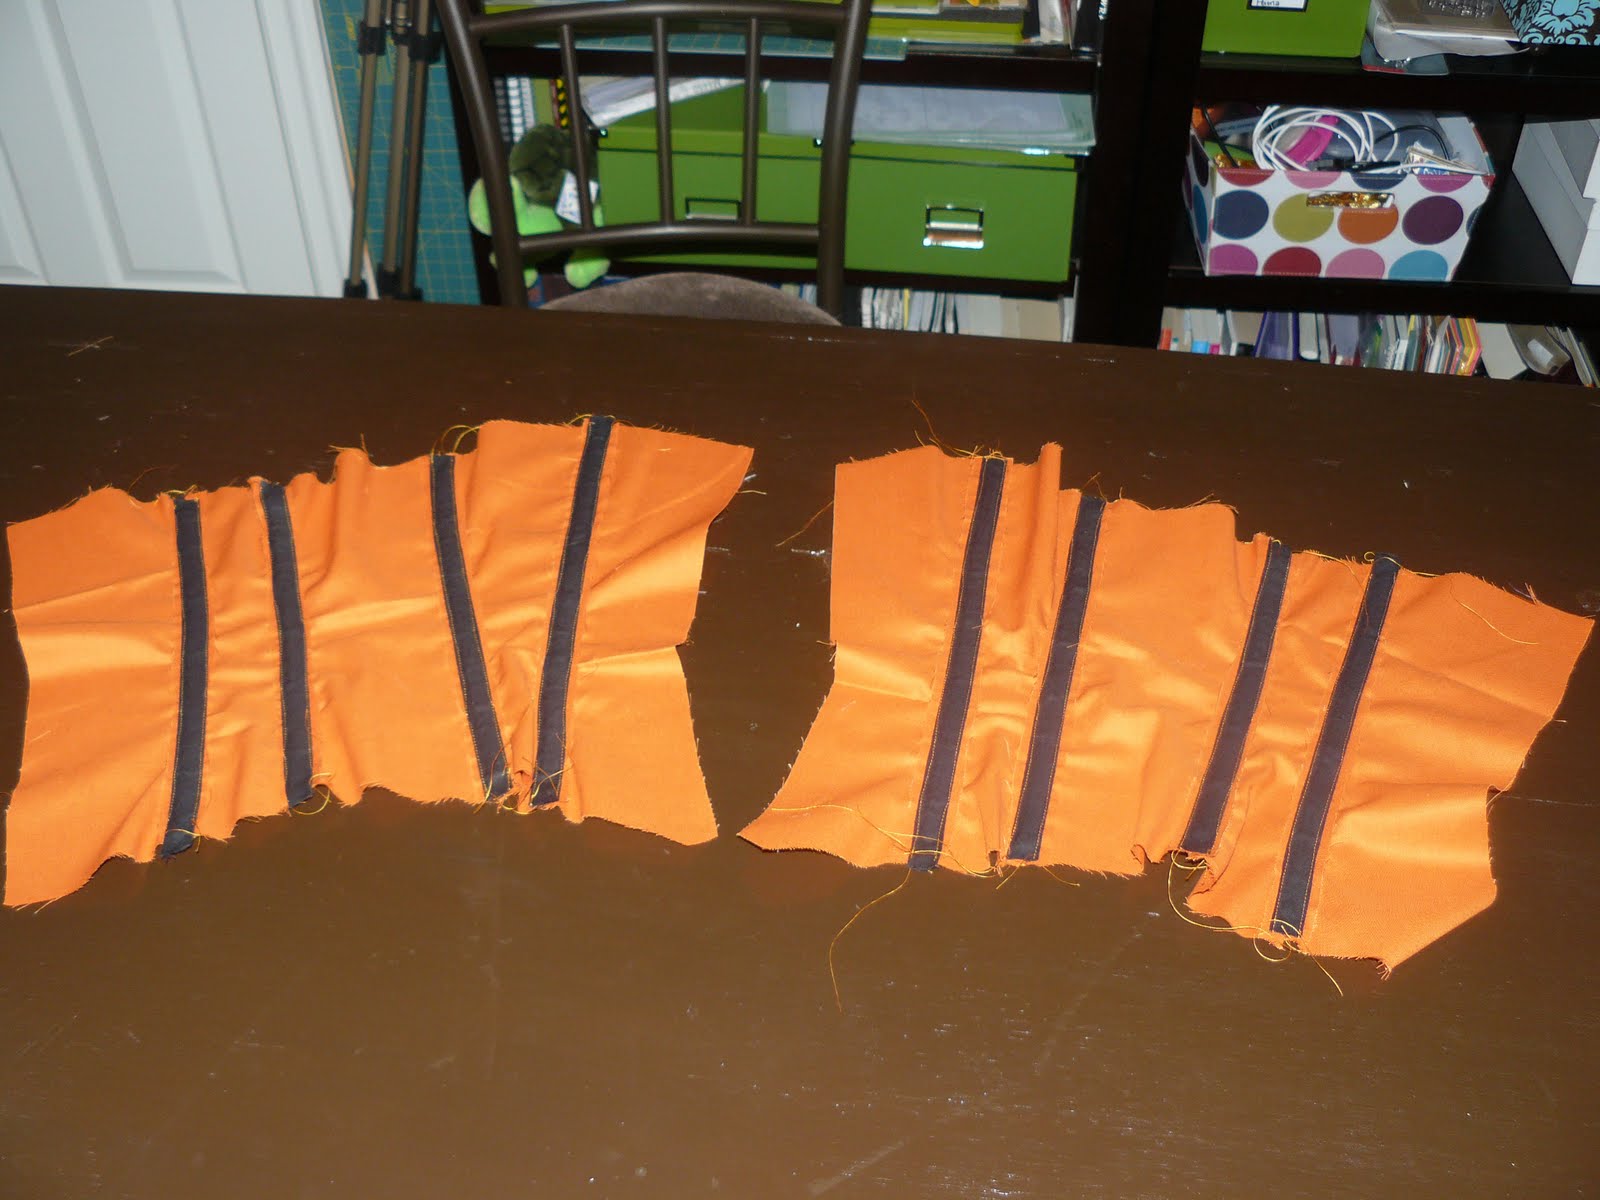 |
| I might make another for Halloween, because ORANGE AND BLACK |
And here it is partially boned. Unlike the plastic boning that I'm used to, this came with twill tape for the channels which then have to have the boning placed into them, whereas the plastic boning is already in it's channels. I think getting the channels sewing close enough to allow them to hold the steel is supposed to be difficult, but it wasn't. Tedious as I had to watch it close, but not difficult persay. I still have to add more channels.
Now, if I hadn't already done plastic boning, it might have been more difficult. The most confusing aspect was figuring out which pieces went to which channels. Trial and error mostly. But having done the others, I knew there had to be some space leftover at the ends, as I'm going to end up hemming/combining layers. So if you haven't done it, keep that in mind.
The top layer has been sewn. So next up is the back facing, grommets for the lacing, and the corset busk (?). That last one is the one I'll be most nervous about. Although the pattern I'm working with is not double layered, so the back facing may be complex to figure out.
I also made some progress on Katherine's corset/top and I made some decisions towards that. I took measurements for the skirt and was all set to begin the pleating...but True Blood came on.
Still left to do by Sept. 1st:
- back chiffon piece of Ilythia
- jewelry for Ilythia
- belt for Ilythia
- finish orange corset
- shorts
- Katherine skirt
- Katherine "bustle"
- details for Katherine (ruffles, lace)
- tailcoat
- vest
- hula monkey shirt
- cricut shirt
- curtains for mom

No comments:
Post a Comment